Monday, January 14, 2013
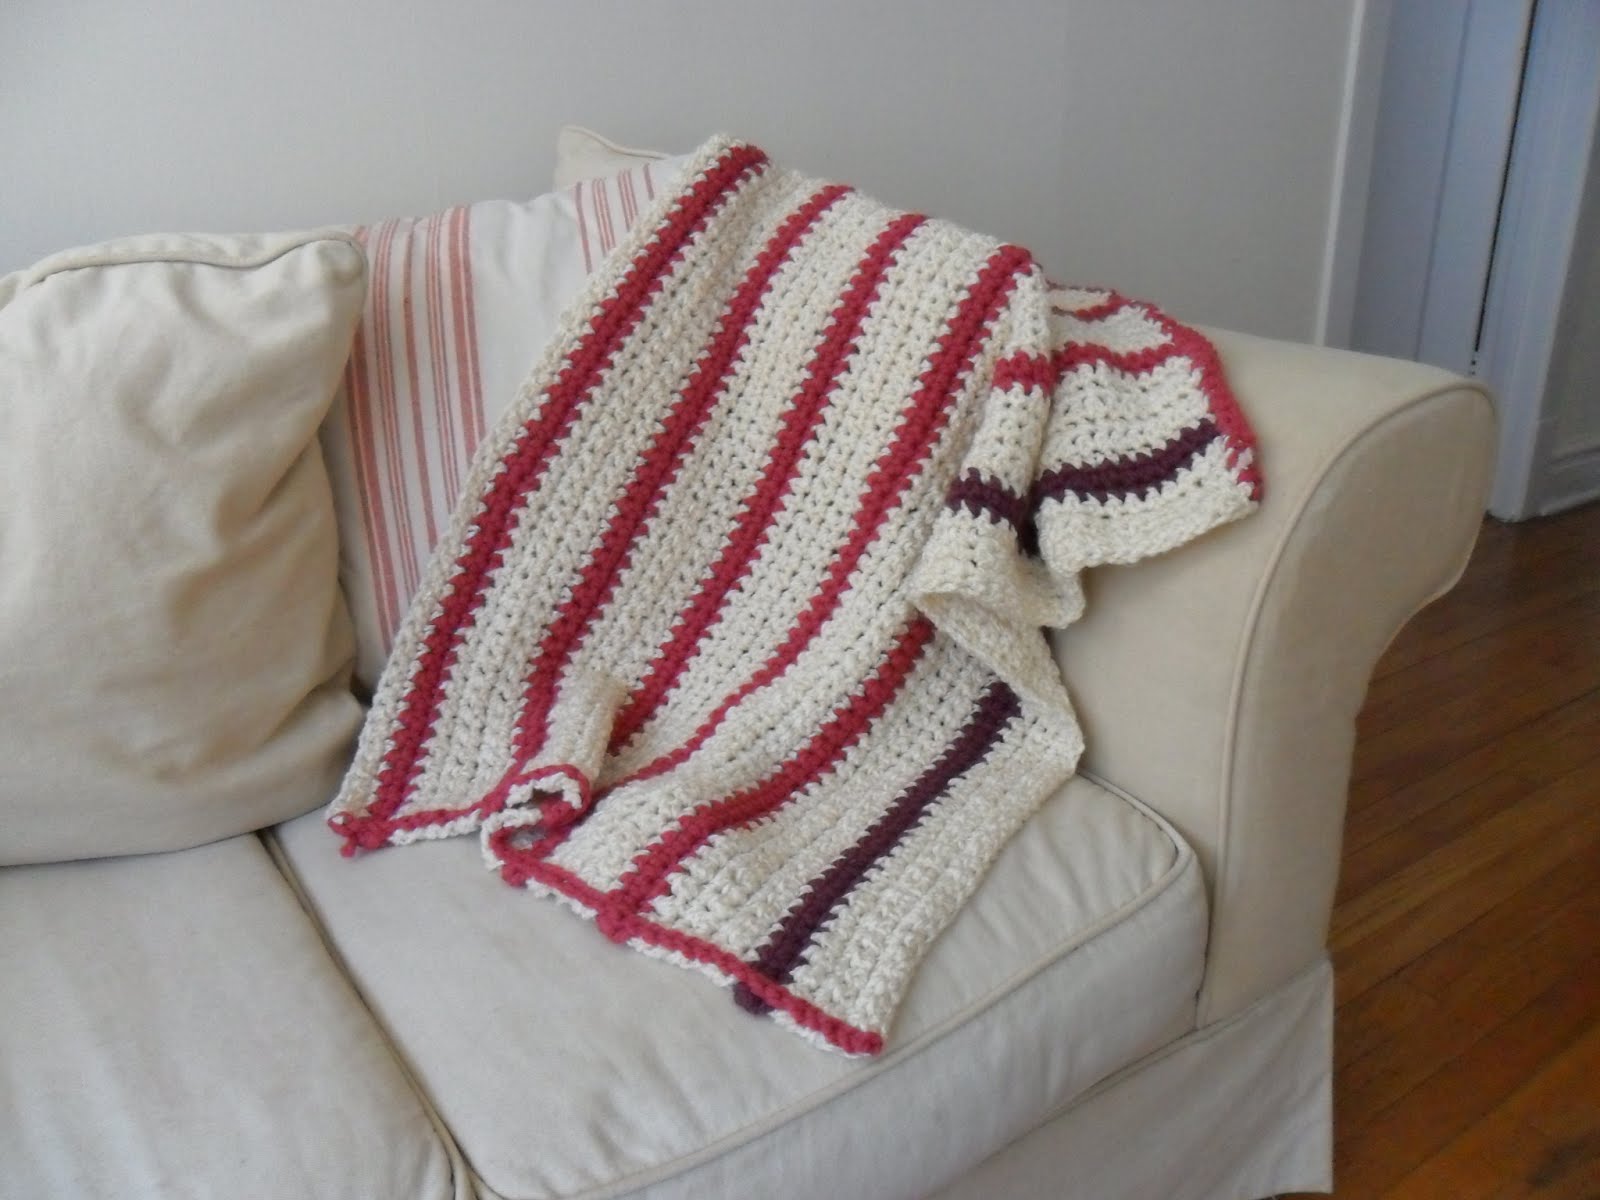
Chunky Yarn Blankie
I had just a little bit of chunky purple yarn left, and had to use it somehow. I had also made myself an infinity scarf out of a shiny cream colored yarn that I ended up never wearing. So, I bought a single skein of chunky pink yarn (same brand/style as the purple) to extend what I had, then went ahead pulling out my scarf and making stripes of pink (and one of purple) every six rows. Ended up not having enough pink leftover to border the whole thing, so I made a thick border row on one edge to tie in all the fringes left from changing colors, and then slip stitched an edge on the opposite border, for a little bit of balance. I'm still not super thrilled with the uneven border, but the goal is to be rid of some of the piles of yarn, not add more chunky scraps that will be hard to use with just about any other yarn weight ever.
Sunday, December 30, 2012
Small Afghan
I originally thought that I'd piece this one together in stripes- with a row of the dark green, a row of the seafoam, and a row of white (repeating), but ultimately decided to go with a diagonal after doing a little math and discovering that with just a couple extra squares, I could make the blanket just a little bit bigger, a little more proportional, that it could work out to be 7x8 instead of 6x9. And since at that point I didn't have enough dark or seafoam greens to make more rows, or widen the rows I had- I went for it.
Sunday, December 23, 2012
Thursday, December 13, 2012
Silverware Roll
A friend recently asked that I make a silverware roll for them- apparently they could only find them commercially to hold about 5 pieces of silver, and they wanted one that would hold more, for work purposes. When I said that they looked easy enough, he asked for 2, and for them to hold 10 pieces of silver.
So I created a pattern and made one- only to figure out at the last minute that I hadn't allowed enough fabric in my pattern to create a flap to fold over the tops of the silver. And naturally, I had already cut the fabric for the second one, with the faulty pattern, and sewed the pieces together, and ironed it, and everything except create the slots. AUGH! Good thing I had a LOT of this fabric sitting around the apartment. I updated the pattern, and cut again, determined not to make the same mistake.
The second time around, my pattern worked out perfectly. So about a week later, I went ahead and cut the second one, and put it all together. Had a moment where I thought my 50-year-old iron had finally crapped out, but I just turned the plug around in the outlet and that seemed to work (yikes! I'm going to need to get a new iron someday!).
I finished the second roll, only to realize that it only had slots for 9 pieces of silver, and then remember that I had actually added an inch on to the pattern the first time around, but without marking it on the paper or adding paper to the pattern. Why do I do these things? However, I've decided- oh well. So he gets one with 9, and one with 10. Both still more than 5. There's nothing wrong with the pattern, technically, all the important aspects to make it usable are there- the ribbons, the flap, the silver dividers, the other flap- it just holds one less piece than 10.
Most silverware rolls made commercially are just serged around the edges, but I don't have a serger. To make this work out for me, I cut two pieces of fabric, sewed them together, then turned it right-side out and ironed to make the edges crisp. I topstitched around the edges to keep my ironing job in place through washing and use, since a lot of the fabric in the top flap isn't attached to each other any other way. Slot seams were sewn through all thickness, after the fabric was folded up. They are visible from the outside when rolled up, but I used a navy thread that matches the fabric (and they are visible from the outside on the ones that can be bought commercially, so I don't feel so bad about that).
So I created a pattern and made one- only to figure out at the last minute that I hadn't allowed enough fabric in my pattern to create a flap to fold over the tops of the silver. And naturally, I had already cut the fabric for the second one, with the faulty pattern, and sewed the pieces together, and ironed it, and everything except create the slots. AUGH! Good thing I had a LOT of this fabric sitting around the apartment. I updated the pattern, and cut again, determined not to make the same mistake.
The second time around, my pattern worked out perfectly. So about a week later, I went ahead and cut the second one, and put it all together. Had a moment where I thought my 50-year-old iron had finally crapped out, but I just turned the plug around in the outlet and that seemed to work (yikes! I'm going to need to get a new iron someday!).
I finished the second roll, only to realize that it only had slots for 9 pieces of silver, and then remember that I had actually added an inch on to the pattern the first time around, but without marking it on the paper or adding paper to the pattern. Why do I do these things? However, I've decided- oh well. So he gets one with 9, and one with 10. Both still more than 5. There's nothing wrong with the pattern, technically, all the important aspects to make it usable are there- the ribbons, the flap, the silver dividers, the other flap- it just holds one less piece than 10.
Most silverware rolls made commercially are just serged around the edges, but I don't have a serger. To make this work out for me, I cut two pieces of fabric, sewed them together, then turned it right-side out and ironed to make the edges crisp. I topstitched around the edges to keep my ironing job in place through washing and use, since a lot of the fabric in the top flap isn't attached to each other any other way. Slot seams were sewn through all thickness, after the fabric was folded up. They are visible from the outside when rolled up, but I used a navy thread that matches the fabric (and they are visible from the outside on the ones that can be bought commercially, so I don't feel so bad about that).
Wednesday, December 12, 2012
Scrap Squares
A small child's blanket, made from squares of yarn that I had a little bit left over, but not enough to make a large section with that color. Made primarily with pinks and whites, and a couple other colors that I wanted to get rid of from the piles, and to break up some of the monotony from just pink and white. Another for Project Linus, unless otherwise asked for!
Tuesday, November 27, 2012
Brown Square Afghan
Another granny-square afghan- this one in brown and variegated gold/peach/brown. I had two skeins of the Lion Brand multicolor yarn, and most of a big 1-lb. skein of brown (there was a project a while back that created some leftovers when I needed just a little bit more). I put them next to each other and it looked nice, so I commenced making as many squares as I could- and oddly, was able to make the exact same number out of both yarns (though, 32 total doesn't divide as nicely as 30, the final blanket is 6 squares by 5 squares). I stitched them together with a gold yarn that my grandma had given me a little of, since there wasn't enough brown left, and then edged the whole thing with the multicolor yarn, since there was enough for that.
Count it as another one for Project Linus!
Saturday, November 24, 2012
Quilt, In Blue- Complete
This blanket was made entirely from scraps of fabric I had lying around, all with some hint of blue, whether it was a primary color or part of an image, or just a tone in the plaid. For the back, I used a navy blue flannel sheet that I picked up at a thrift store- keeps the backing pretty simple and very cheap.
To create the top part, I first cut a right triangle out of bristol board (leftover from art school), and cut out nearly 400 triangles- which were then pieced together into squares (being careful to keep right sides up, and not putting together two triangles of the same fabric). Squares were then sewed into strips, again keeping same fabrics from abutting each other. Strips were then sewn into the large rectangle that became the top.
Once the top piece was created, I sandwiched the batting between the flannel sheet and the top, and attached them all together with baby blue yarn ties. I basted the edges and snipped the excess fabric, then used quilt binding to hold it all together. I think my quilt binding skills still leave something to be desired- I'll have to read up on that some more before my next quilt, so that I know better how to keep it from twisting a little as I sew it on.
Subscribe to:
Posts (Atom)