Purple hand-me-down yarn from my Mom, matched with a purple-teal-magenta variegated yarn that had caught my eye at JoAnn's a while ago. I tried to take a picture of the stitch pattern, but Kitty decided that was the perfect moment for a kneadability test.
Also my camera batteries decided to be dead when I grabbed my camera this morning- so cruddy phone photos it is.
Sunday, November 13, 2016
Saturday, August 20, 2016
Sunday, April 24, 2016
Sunday, March 6, 2016
Saturday, February 6, 2016
Baby Quilt- Pink
I had a three-day weekend over Martin Luther King Day, and wanted to do something special! I haven't done a lot of sewing in the last couple years (at least, I feel like I could be doing more, based on the amount of fabric in my closet), so I decided to use up some of my stash and make a small crib sized quilt. It's a pretty simple design- I figured out the width of the blanket, and what widths of fabric strips could comprise the width of square. I then made several very long strips, which I sewed to each other to make one very long 18" wide rectangle, and cut it down at 18" intervals to make squares. I turned a couple squares, and voila! I used about half of twin-sized sheet to make the flat back, and stitched yarn ties in rows along the widest strips (which, yes, still need to be trimmed).
I took a quilting class last fall, where I had someone show me how to make a binding at home, and how to miter the corners on the binding-one of the more valuable things I learned in class, as reading about it in books was not working out for me! This was the first time after class I attempted my own binding, made from the same sheet as the back fabric, and mitered corners, as well as hand-stitching the binding on the backside (I really had no idea what I was doing with factory-made binding, and am inherently lazy- the easiest solution was to machine sew both the front, and then the back). I am so glad I learned that! The binding on this quilt turned out miles ahead of the binding on any other quilt project I've done before.
Saturday, December 26, 2015
Crest Pillow
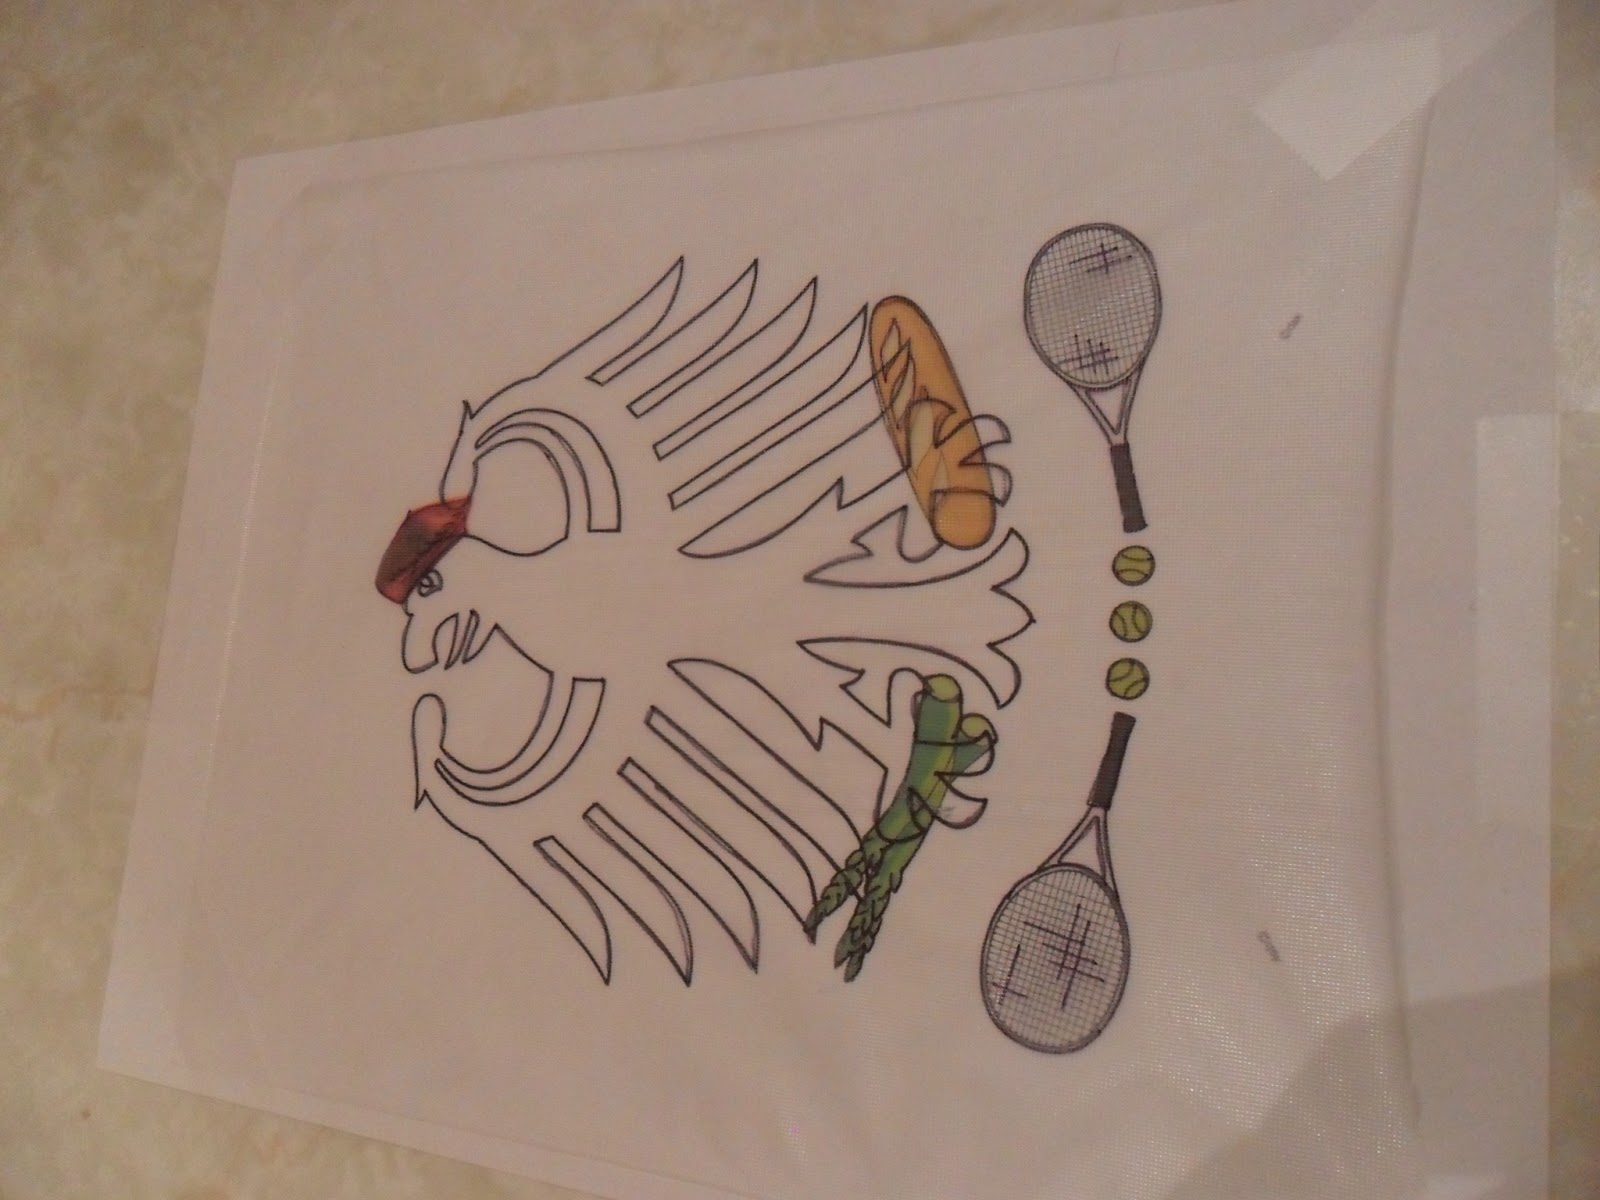
For Christmas, I designed a crest for my boyfriend, and embroidered it onto a throw pillow for him. I'm really proud of how it turned out, and he loved it! He loved his crest, especially after my explanation to him, and he was really jazzed about the soft flannel green-army-man background. He said he even detected a note of "pillow-envy" in his stepmom.
To make this project happen, I designed the crest in Illustrator, pulling together pieces of his personality (ie, raspberry beret because he loves 80s music and because he loves taking French classes). I printed out the final design, and used a thin sharpie to trace it onto a piece of Sulky brand water-soluble stabilizer- it doesn't do much in the way of stabilizing, but it's basically clear plastic that you can draw all over and then completely dissolve in water. It's great!! I basted that onto some plain bleached cotton muslin, and got to embroidering.
I wasn't sure when I started the project if I was going to use any kind of trim or not, but when I asked a friend if the pillow needed a ruffle or not, she reminded me that piping was a thing. I went with the piping, and it turned out way better for him than a ruffle would have.
To make this project happen, I designed the crest in Illustrator, pulling together pieces of his personality (ie, raspberry beret because he loves 80s music and because he loves taking French classes). I printed out the final design, and used a thin sharpie to trace it onto a piece of Sulky brand water-soluble stabilizer- it doesn't do much in the way of stabilizing, but it's basically clear plastic that you can draw all over and then completely dissolve in water. It's great!! I basted that onto some plain bleached cotton muslin, and got to embroidering.
I wasn't sure when I started the project if I was going to use any kind of trim or not, but when I asked a friend if the pillow needed a ruffle or not, she reminded me that piping was a thing. I went with the piping, and it turned out way better for him than a ruffle would have.
Subscribe to:
Posts (Atom)